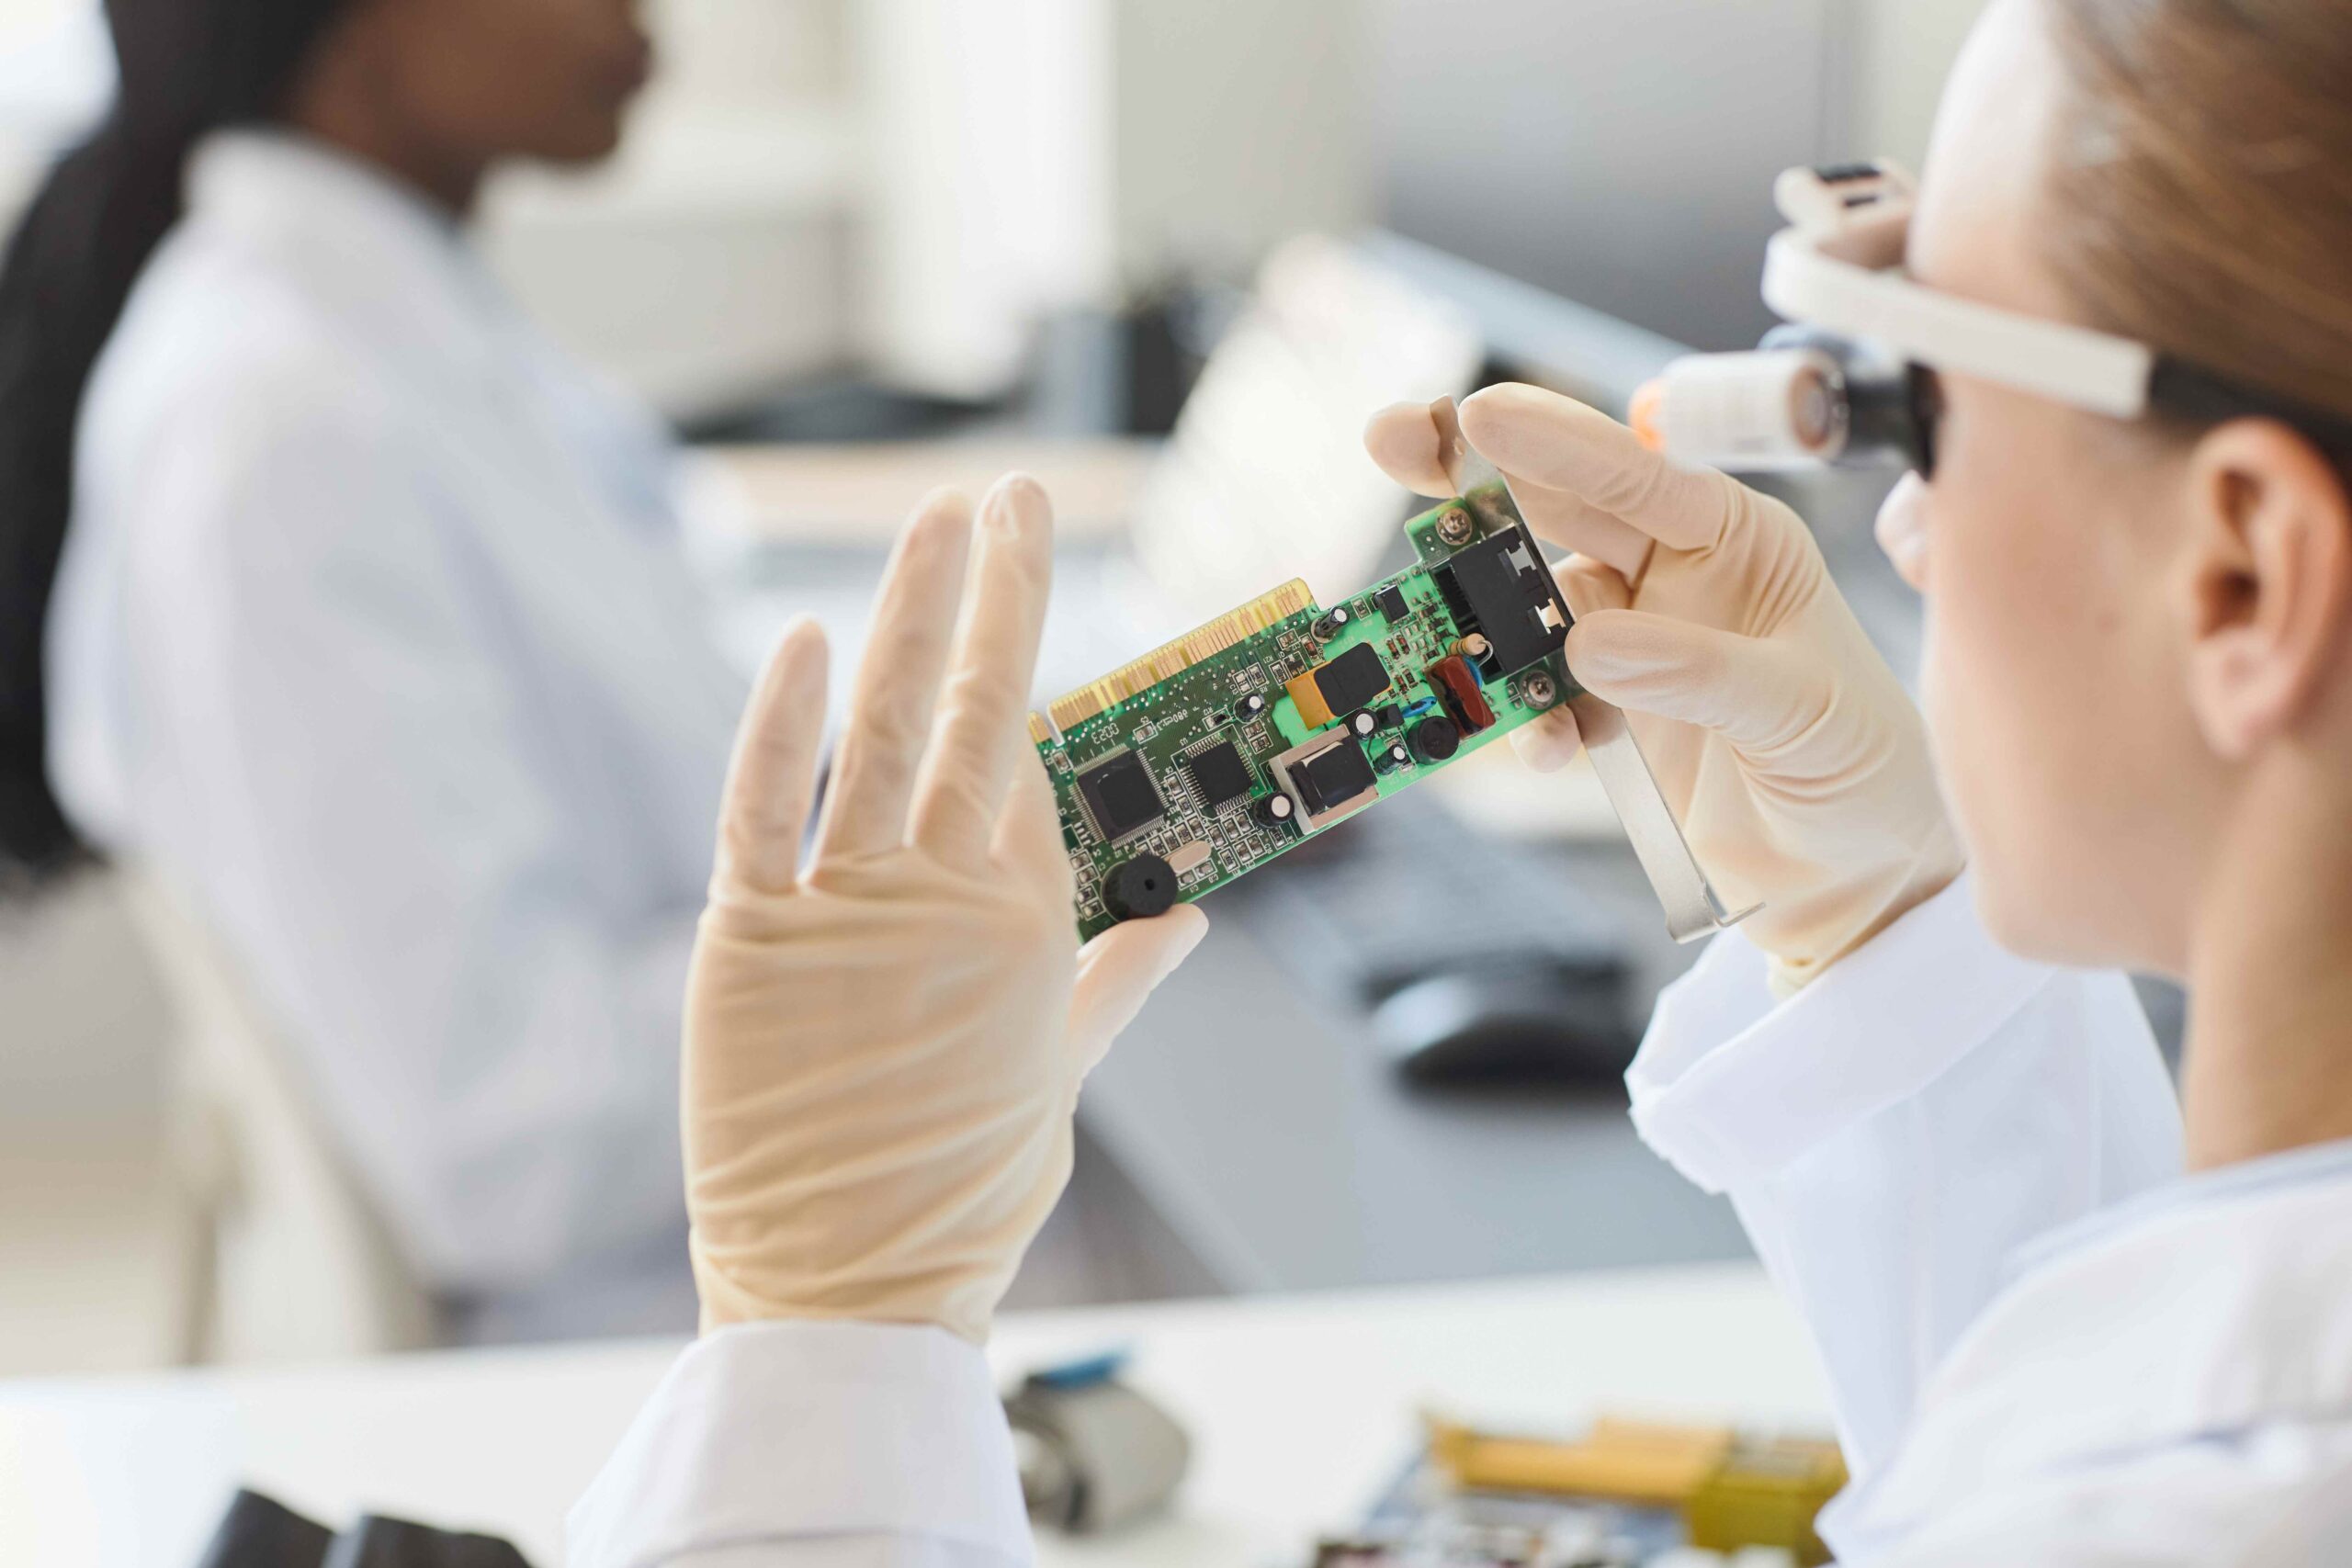
At USBid Inc., our goal is customer satisfaction. Our commitment to that goal is a part of everything we do. Our certifications, inspection process, warranties, focus on counterfeit avoidance, and QTSL and QSLD accreditations are all a part of our business to ensure we exceed customers expectations. This quality control is also a part of our visual inspection techniques.
Documenting the original condition
We begin at a photo station with items packaged in bulk. A technician takes photographs of electronic components to document the original condition as they were received. These photographs provide the necessary audit trail from the beginning to the end of the inspection process.
Verifying quantity received
Using a scale, our technician determines the count of items received in bulk packaging at the real counter station. We do this to verify that the quantities on the labels are the actual quantities that we receive. To do so, we turn the scale on, and then we take a container and put it on top of the scale. Then we tear or zero the scale. We then get a subset or sample of the parts or units that we’re going to count. For example, we put five units of a three lead transistor outline package, and then we sample to get our sample set.
Once we have our sample set we put them in and hit the tear or sample button. We put the entire quantity into the container so we can get the actual count of the units received. Now that we have placed every single unit in the container, we can verify the count for all the items received in this bulk package.
Comparing to datasheet
The next step is to verify all the marking information against the manufacturer’s datasheet. In a routine inspection, we would use a larger subset of units, but in this case, we will be using just one unit. First, we’re going to verify the part number and date code. To make sure that the correct manufacturer is received we will also verify the pin count against the manufacturer’s datasheet. We will inspect the leads and then, we’ll begin taking photos.
First, we will take photographs of the top and of the bottom. Then we will get our caliper and take caliper measurements and photos of the measurements. We will first measure the length of the part. After verifying the length of the part, we will then take a measurement and photograph of the height of the part. These dimensions again will be verified against the manufacturer’s datasheet.
Surface permanency marking tests
Another part of the inspection process is the surface and marking permanency tests. To do the marking permanency test, we will take a swab or Q-tip and dip it in a three in one solution of mineral spirits and alcohol. Then we will rub against the part markings to see if any of the markings are removed. To perform a surface test, we use Acetone. Again we will use a swab or Q-tip and rub on the body of the part away from the markings. This test is to verify if there is any blacktopping or any other substance that may be on the body of the part. After completing those steps, we will then go to the microscope for a more detailed inspection.
Microscope inspection
At the microscope station, our technician will perform their microscopy and take detailed photographs of the units under the microscope. One of the tools we use is the Keyence VHS-950F digital microscope. First, we will place a unit on the stage of the scope and get a closer look at 90X magnification of the part markings. We will then take a look at the body of the part where the surface test was performed and get a close-up to see if there were any scratch marks revealed. We would then take the unit and look at the leads and in doing so we will be verifying that there are no drag marks, no demarcation lines and also the overall shape of the leads. We will look at the front side of the leads as well as the back side of the leads.
After verifying our lead conditions and taking all our photos, we will then take a photo of the coplanarity of the leads on the coplanarity mirror. To take coplanarity photos we will use the trace shot camera also located at the microscope station. Our technician will place a unit on the coplanarity mirror, center the unit and get it to the edge of the stage and the mirror, and then she will take a photograph. With the coplanarity mirror, the image is reflected showing that the leads are either straight or touching on the stage or the flat plain that the unit is sitting on. After taking the photo you can view your image to make sure that the unit is considered coplanar or not. This step is repeated on both sides of the unit, in this case, a dip or all sides on a QFP or PLCC.
Data input
To complete our inspection process, we are at our technician’s inspection station where we will upload our photographs, input data, such as our caliper measurements, and that will complete the visual inspection.
USBid, Inc. corporate policy of customer satisfaction through continuous improvement has been our goal since 1988. Contact our sales representatives so we can help you locate and purchase hard-to-find and long lead time components.

